
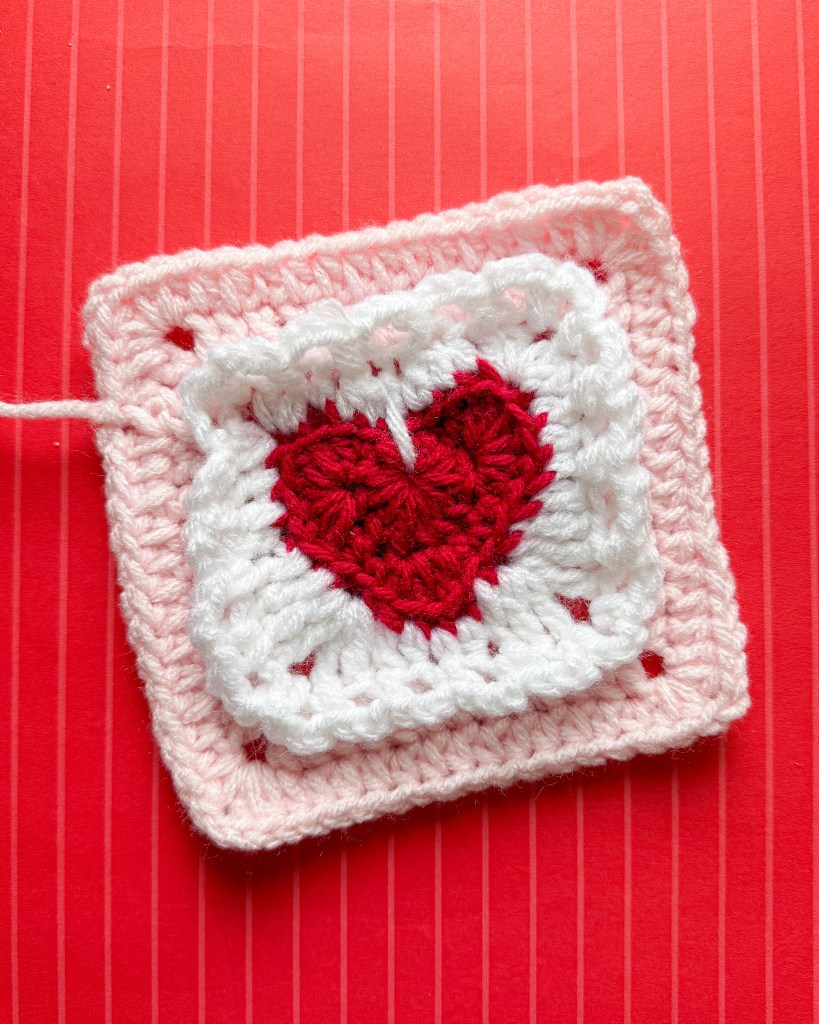
I love love, and I really love Valentine’s Day! I wanted to whip up something quick, easy, and festive for y’all that’s easy to customize. Enter the Valentine’s Day Granny Square!
These granny squares feature a heart in the middle and a 3D lace design, perfect for Valentine’s Day makes! They are much easier than they seem.
Some notes before we get started:
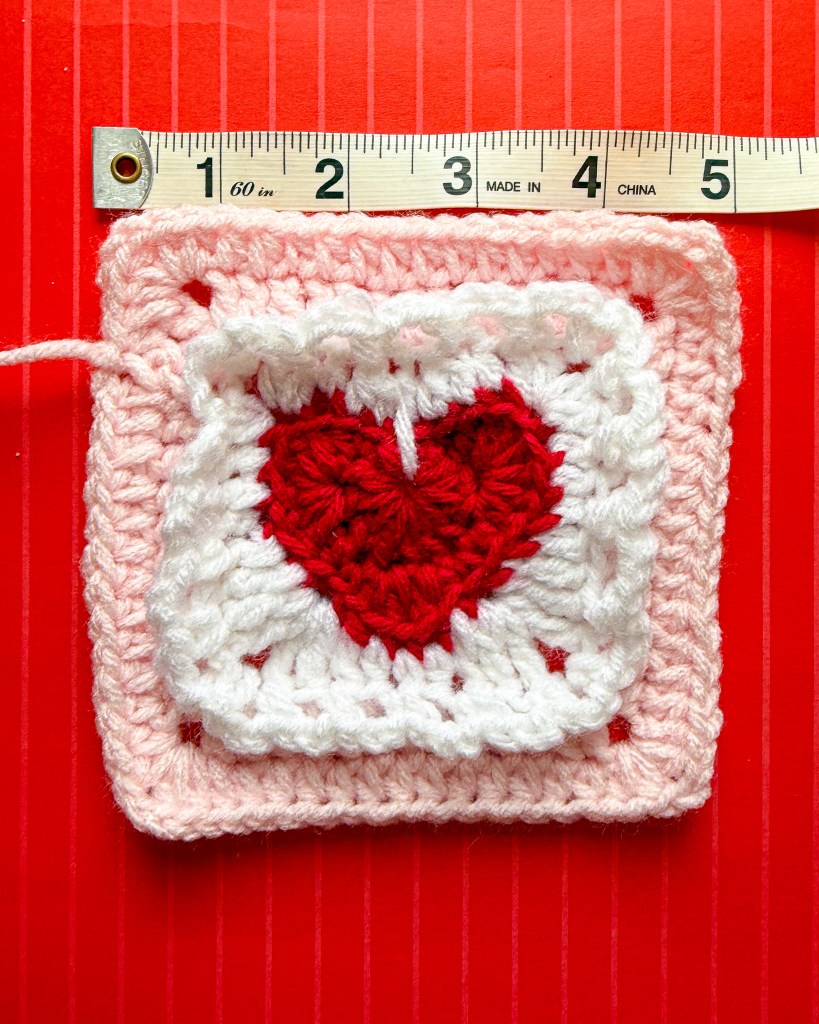
Each granny square measures approximately 5 in x 5 in when made as directed. If you need larger squares, try a larger hook size.
If you have any issues or need clarification, email me at girlgermsdesigns@gmail.com. I’d be happy to help you out the best I can.
NOTE: This is a FREE pattern that was tested by two fellow crocheters, but it’s possible there are errors. If you spot something, please let me know at the email address above.
Materials
- red worsted weight yarn (1 skein)
- white worsted weight yarn (1 skein)
- pink worsted weight yarn (1 skein)
- 3.50 mm hook
- scissors
- Tapestry needle
Stitch Abbreviations (US Terms):
- ch – chain
- tr – treble crochet
- dc – double crochet
- hdc – half double crochet
- sc – single crochet
- sl st – slip stitch
- st(s) – stitch(es)
- dc2tog – double crochet 2 together
- BLO – back loop only
Main Square
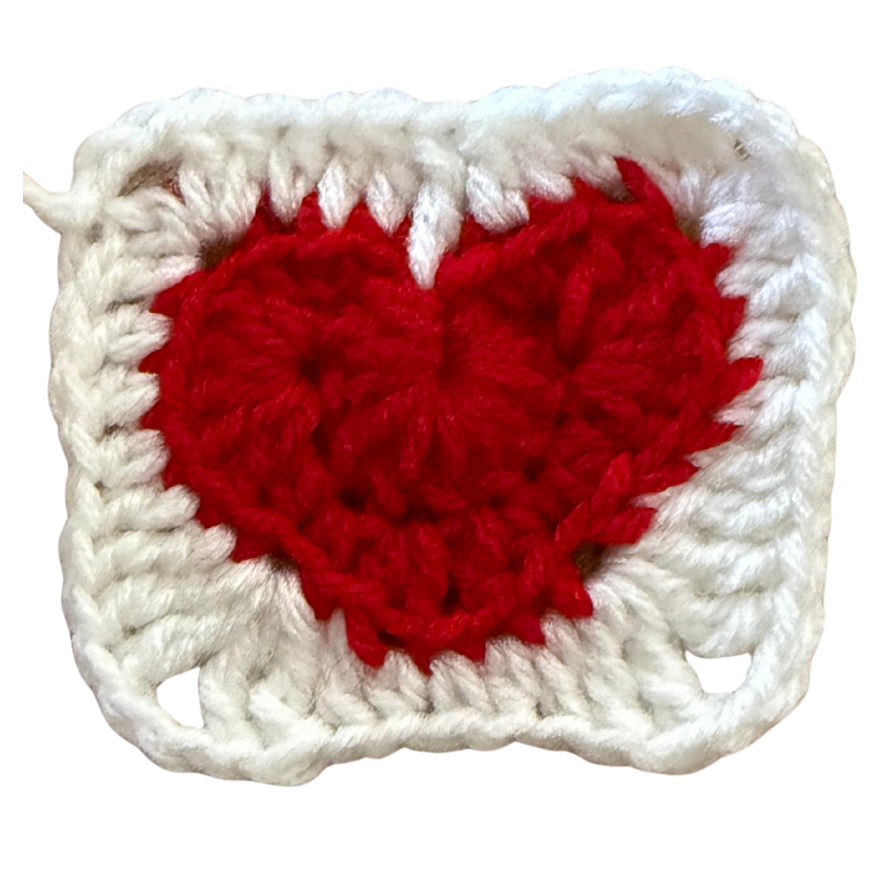
Row 1: With red yarn, make a magic ring (mr). Ch 2 (counts as dc), then work 11 dc into the ring. Join to the top of the beginning ch 2 with a sl st. (12 dc total)
Row 2: Skip the first stitch. (1 sc, 1 hdc) in next st, 6 dc in next st, 1 hdc, 1 sc, (1 hdc, 1 dc) in next st, ch 1, (1 dc, 1 hdc) in next st, 1 sc, 1 hdc, 6 dc in next st, (1 hdc, 1 dc) in next st, sl st in the center of Round 1. (aka the center of the magic ring you started with) (25 sts and one ch-1 space)

Fasten off and weave in ends. Switch to white yarn. Join in the 4th st (2nd dc of Row 2). We’ll be working in the BLO to make the heart shape more noticeable.
Row 3: Ch 2 (counts as dc), 1 dc in same st. 2 dc, 1 hdc, 1 dc, 1 tr, (2 tr, ch 2, 2 tr) in next st (corner made), 1 dc, 1 hdc, 1 sc in ch-1 space, 1 hdc, 1 dc, (2 tr, ch 2, 2 tr) in next st (corner made), 1 tr, 1 dc, 1 hdc, 2 dc, (2 dc, ch 2, 2 dc) in next st (corner made), 1 hdc, dc2tog, 1 dc in center of heart (first st of Row 1), dc2tog, 1 hdc. In first st we worked: 2 dc, ch 2, sl st to top of starting ch 2. (34 sts and 4 ch-2 spaces)
Fasten off and weave in ends. Switch to pink yarn. We’ll be working in the BLO again so we can add the lacy details later on.
Join in the same stitch where you tied off the previous round. When we crochet into the corner spaces in BLO, we’ll make stitches into each individual chain rather than working in the space below the stitches. (See image)
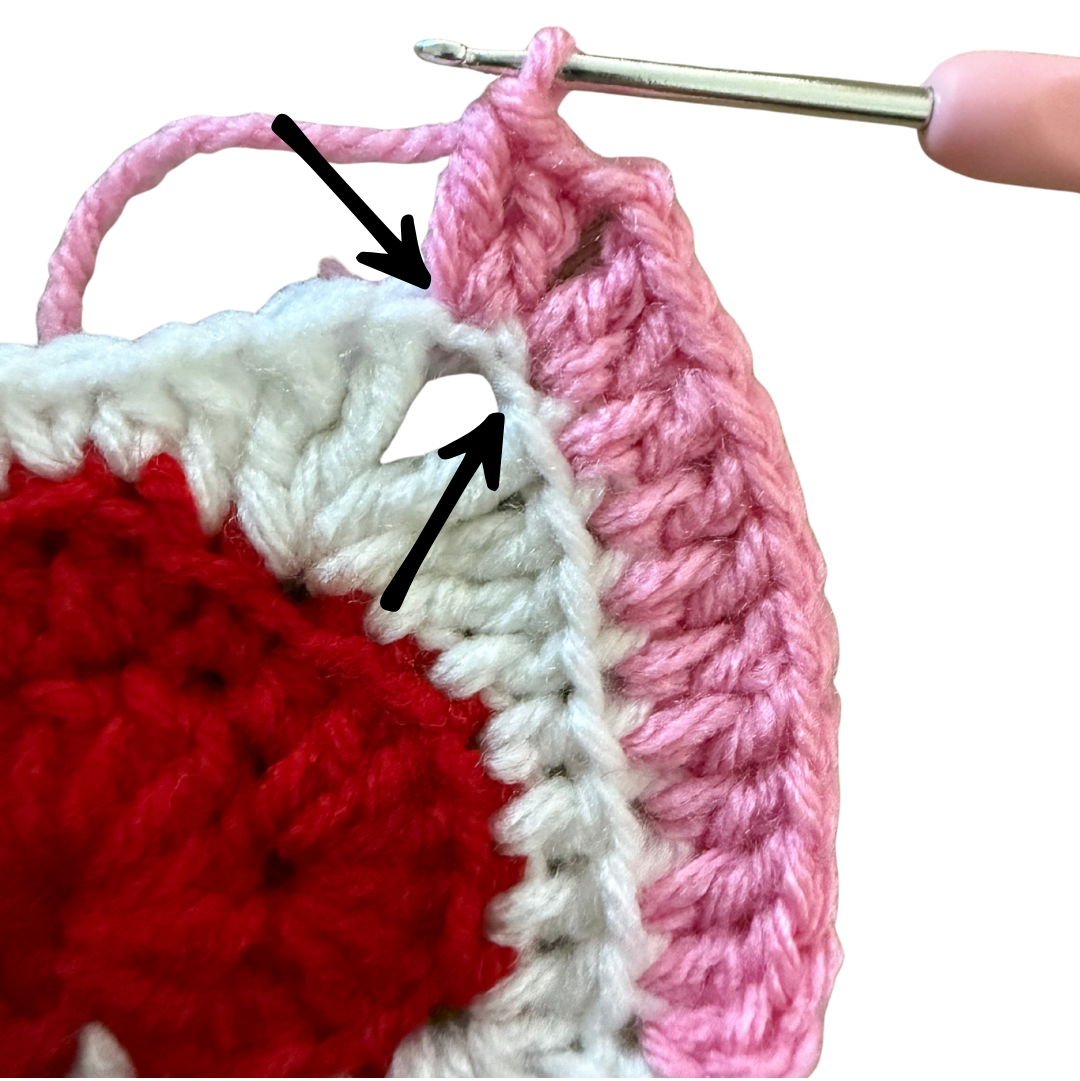
Row 4: Ch 2, dc in next st, 7 dc. In first corner ch, (2 dc, ch 2). Work 2 dc in next corner chain. 9 dc across next side. Repeat, working (2 dc, ch 2, 2 dc) in each corner space and 9 dc along each side. When you reach the final corner space, work the corner as usual and sl st to the top of the ch2 from the beginning of the row. (52 st and 4 ch-2 spaces)
For the 5th row, crochet normally into both loops.
Row 5: Ch 1, hdc in same space, 10 hdc. In first corner ch-2 space: (2 hdc, ch 2, 2 hdc). 13 hdc across next side. Repeat from corner to corner around, working (2 hdc, ch 2, 2 hdc) in each corner space and 13 hdc along each side. Join with a sl st to first hdc. (68 sts and 4 ch-2 spaces)
Tie off and weave in ends.
Finishing Touch
Time to add the white lacey details that make this granny square so cute!
Because Row 3 was worked in BLO, the front loops are still free for this round.
Row 1: Join white yarn to any front loop in row 3 and sc in same loop. Ch 3, skip 1 loop, sc in next. Repeat from * to * around, including working into both chains in each corner space.
At the end, sl st to first sc. Fasten off and weave in ends.
And that’s it! I hope you enjoyed getting in the Valentine’s Day spirit.
I’d love to see what you make with these squares! Feel free to tag me @ewwgirlgerms everywhere.


Leave a comment